1 如何修改网站icon?
将自己的logo图片截取为192x192像素(长款分别为0.21cm).然后将其命名为’icon-192.png’放置于static/img文件夹中即可.
2 如何将个人网站作为图床使用?
将图片放置于static/files文件夹中即可.使用如下路径访问:
shenxt.info/files/figure.name
3 如何将某个部分(如博客blog)不显示在主页(home)上,而是点击之后,打开一个单独的page?
以blog为例(posts).
- 首先需要将
content/home中的posts.md中的active设置为false.这样,这一部分就不会在home主页显示.

然后将
content/home中的posts.md拷贝到content/post中,并改名为index.md.打开
config/_default/menus.toml,然后将Blog的url修改为文件夹的名称.

4 如何添加新的页面?
以在我的网页添加新的中文入口为例.
在conternt文件夹下面创建新的chinese文件夹.在该文件夹下面创建_index.md文件.
5 如何在post中添加本地图片?
首先在content/post/建立和post名z字去除掉数字之后的的文件夹(比如post名字为2019-10-25-test,则文件夹命名为test),然后再在该文件夹下建立和post同名的文件夹(2019-10-25-test),然后将图片(如test.png)放入该文件夹下.在post中,使用:
语句插入图片.
6 如何在Rmarkdown中添加table of contents?
在每篇Rmarkdown的YAML添加如下内容:
output:
blogdown::html_page:
toc: true
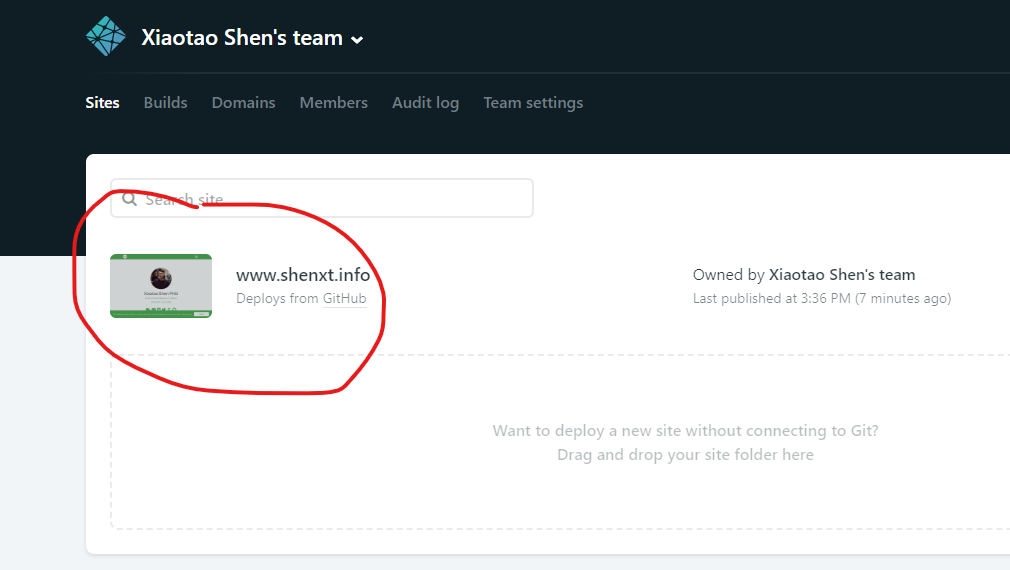
number_sections: true7 netlify自动部署(deploy)failed的问题
发现自动部署总是失败.查了一下,应该是本地的Hugo和netlify上的版本不一致,解决方法如下:
首先,在R console输入下列语句,查看本地Hugo版本:
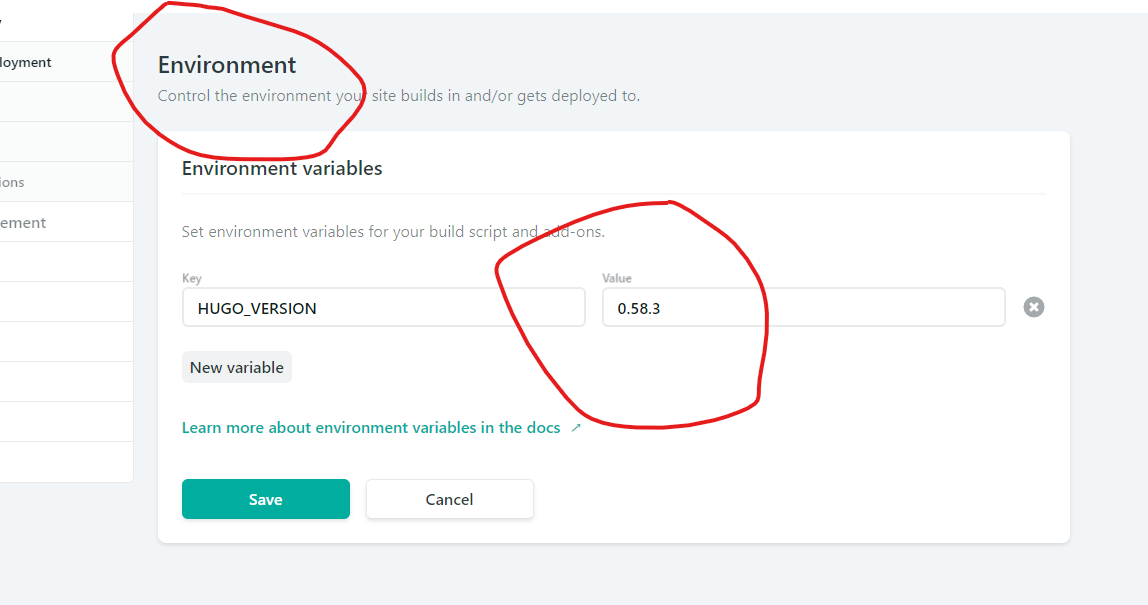
blogdown::hugo_version()## [1] '0.58.3'然后修改netlify上的Hugo的版本.
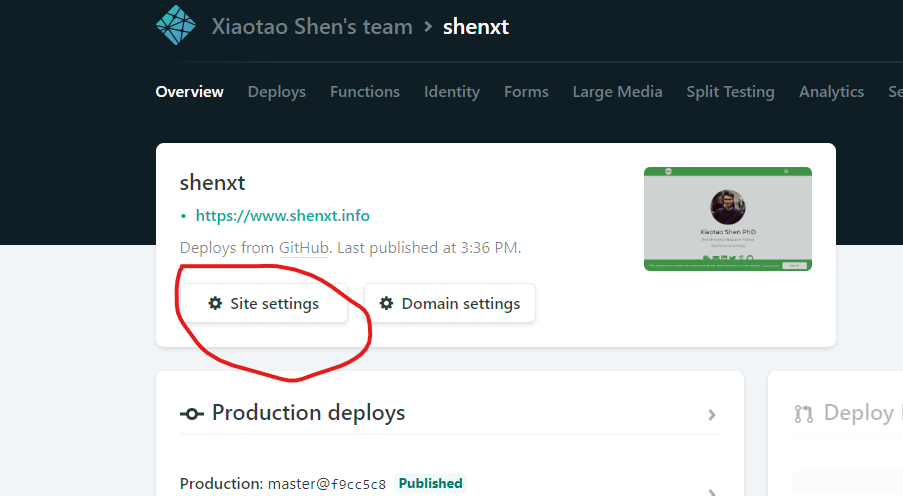
7.2 点击Site settings
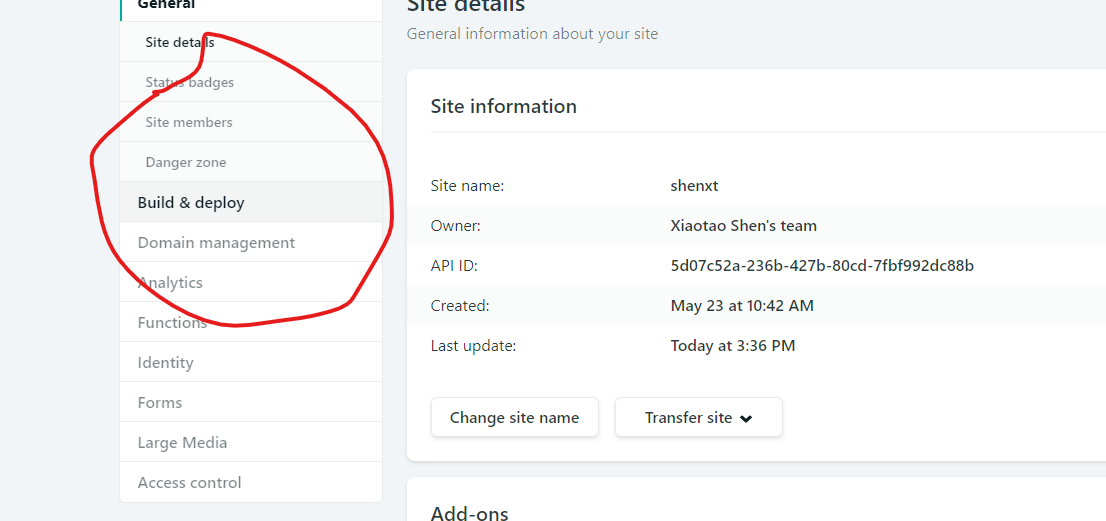
7.3 点击Build & deploy
7.4 修改Hugo version
然后点击Environment,将HUGO_VERSION版本修改为和本地一致的版本.
8 将网站改为中英双文之后,新建post报错
暂时没有找到好的解决办法.现在的问题是,使用new_post()创建新的博客,默认的根路径就在content\en中,但是默认的打开路径又在content\zh中.所以无法解决.现在只能使用copy其他博客新建来解决了.
8.1 新建blog的YAML如下:
---
title: test
author: Xiaotao Shen
date: '2019-10-13'
slug: ''
categories:
  - R
tags:
  - Blog
image:
  caption: ''
  focal_point: ''
output:
  blogdown::html_page:
    toc: true
    number_sections: true
---
8.2 常用的categories:
- docker
- life
- literature
- Mass Spectrometry
- omics
- R
- Study
9 如何在post(markdown)中插入Emojis
完整的emoji名单在这:
https://www.webfx.com/tools/emoji-cheat-sheet/
输入:
I : heart : Academic : smile :注意需要把emoji文字和两边的冒号之间的空格去除掉.
显示:
I ❤️ Academic 😄
10 如何在post中插入视频?
10.1 如何插入B站视频?
参考下面帖子.
https://fengxiao.ml/2018/12/27/133.html.
点开想要插入的视频,点击分享.然后点击嵌入代码,复制代码,插入到markdown文件中即可.
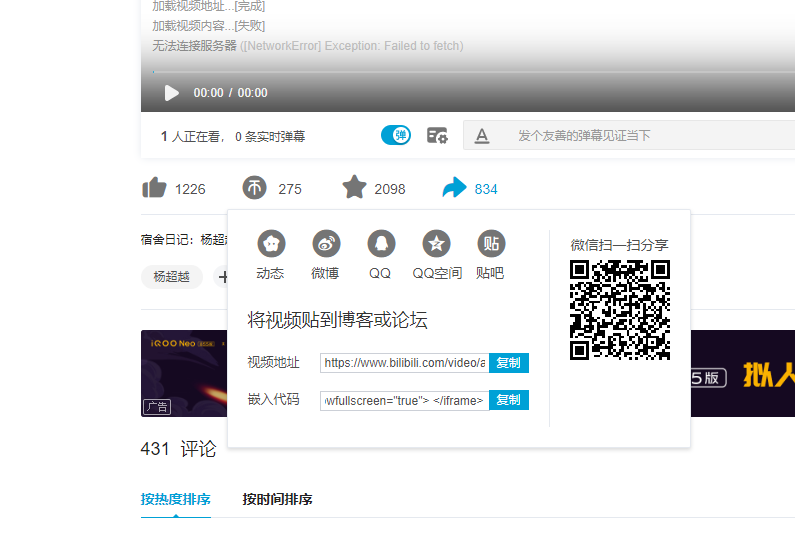
但是直接嵌入的视频长宽不太好,所以需要手动调整.
首先需要设置宽度位100%.并给其设置一个id.如下面我就设置ID位test.
<iframe id="test" src="//player.bilibili.com/player.html?aid=23877090&cid=39940519&page=1" scrolling="no" border="0" frameborder="no" framespacing="0" allowfullscreen="true" width=100%> </iframe>然后需要在markdown中插入下面的JS代码:
<script type="text/javascript">
document.getElementById("test").style.height=document.getElementById("test").scrollWidth*0.76+"px";
</script>
10.2 在markdown中
直接使用下面语句,插入到markdown中即可.
10.2.1 A video from your static/img/ media library:
{{< video library="1" src="my_video.mp4" controls="yes" >}}10.2.2 A video within a page’s folder (e.g. content/post/hello/):
{{< video src="my_video.mp4" controls="yes" >}}
10.2.3 Youtube:
{{< youtube w7Ft2ymGmfc >}}10.2.4 Vimeo:
{{< vimeo 146022717 >}}10.3 在Rmarkdown中
使用shortcode()函数.
10.3.1 本地视频
将视频放入在与post相同的文件夹中.
然后插入下面语句(注意是要放在r代码框中):
blogdown::shortcode("video", src = "./test.mp4")10.3.2 Youtube视频
使用下面语句可以插入视频.第二个是youtube视频ID.
blogdown::shortcode("youtube", "p4liifrbK8w")11 如何在post中插入icon?
直接使用HTML语句即可.
<i class="fab fa-weixin"></i>显示:
其中fab是这个网站:
https://fontawesome.com/icons?d=gallery
找到你想要的icon之后,复制名字,替换掉即可.
如果该网站没有,还可以使用下面的网站:
https://getbootstrap.com/docs/3.3/components/
输入:
<i class="fas fa-adobe"></i>显示:
12 如何使用jupyter编辑post?
如果是写关于python的博客,那么使用jupyter就要比使用Rmarkdown方便太多了.以windowns系统为例.
12.1 打开CMD,修改路径到当前post路径下.
可以参考本博文的内容.
12.2 打开jupyter notebook
输入
jupyter notebook打开jupyter notebook.然后新建一个jupyter文件,命名为index.
12.3 开始对jupyter进行编辑.
开始在jupyter上进行编辑.
12.4 另存为markdown文件.
如下图操作.

12.5 编辑YAML
将index.md打开,然后添加YAML信息.
---
authors:
- admin
categories: [Python]
date: "2019-02-05T00:00:00Z"
draft: false
featured: true
image:
  caption: ""
  focal_point: ""
projects: []
subtitle: Learn how to blog in Academic using Jupyter notebooks
summary: Learn how to blog in Academic using Jupyter notebooks
tags: []
title: Display Jupyter Notebooks with Academic
---
如果要使用featured figure,需要将featurd设置为true,且在该post目录下添加名字为featured.png的图片.